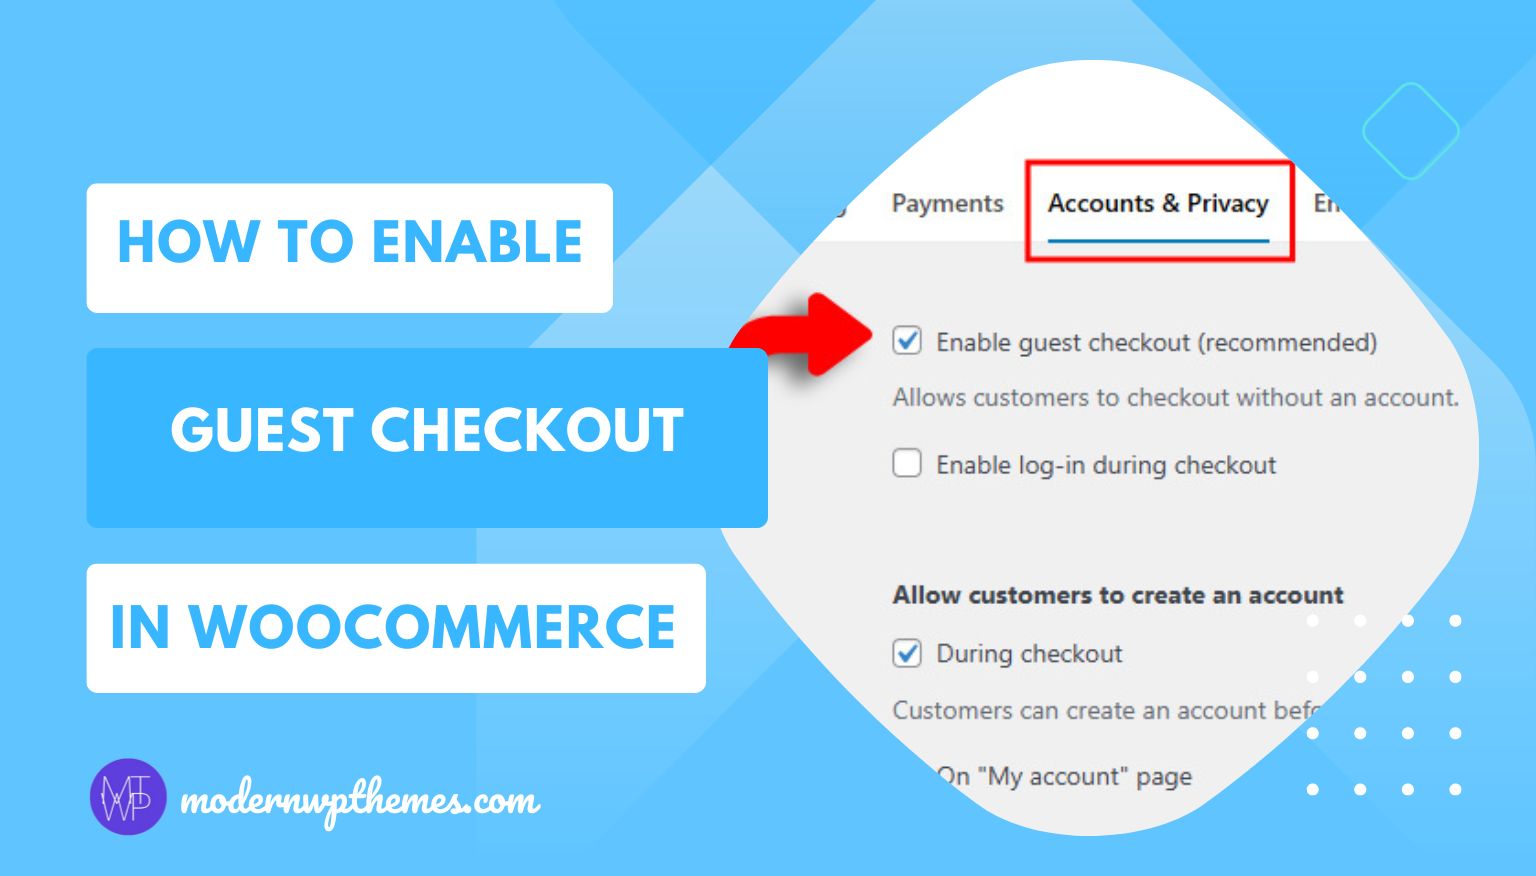
A smooth and quick checkout process can make a big difference in your store’s conversion rate. One of the easiest ways to reduce friction is by allowing guest checkout in WooCommerce — so your customers can buy products without having to create an account first.
In this detailed beginner-friendly guide, you’ll learn:
- What guest checkout means
- Why it’s important for conversions
- How to enable it step-by-step
- And how to automatically create a user account after a guest completes an order
Let’s dive in…
Also Read Our: How to Add Discount Coupons in WooCommerce
What Is Guest Checkout in WooCommerce?
Guest Checkout allows shoppers to complete their purchase without logging in or creating an account. They simply provide their billing and shipping details, pay, and they’re done.
By default, WooCommerce requires users to create an account, but that extra step can discourage new or one-time buyers. Guest checkout removes that barrier — making the process faster and more convenient.
Why You Should Enable Guest Checkout
Here are a few key reasons why enabling guest checkout can benefit your online store:
- Reduces cart abandonment: Many customers abandon carts when forced to register an account.
- Speeds up the checkout process: Fewer steps mean faster conversions.
- Improves first-time customer experience: Makes purchasing quick and simple.
- Increases mobile sales: Mobile shoppers prefer fast, one-step purchases.
- Gives flexibility: You can still invite users to create an account after checkout.
Did you know? Studies show nearly 24% of shoppers abandon their carts when asked to create an account before checkout (Baymard Institute).
Step-by-Step: How to Enable Guest Checkout in WooCommerce
Let’s start by turning on WooCommerce’s built-in guest checkout setting.
Step 1: Go to WooCommerce Settings
- Log in to your WordPress dashboard.
- From the left sidebar, go to WooCommerce → Settings.
- Click the Accounts & Privacy tab at the top.
This is where you’ll manage all user account-related options, including guest checkout.
Step 2: Enable “Allow customers to place orders without an account”
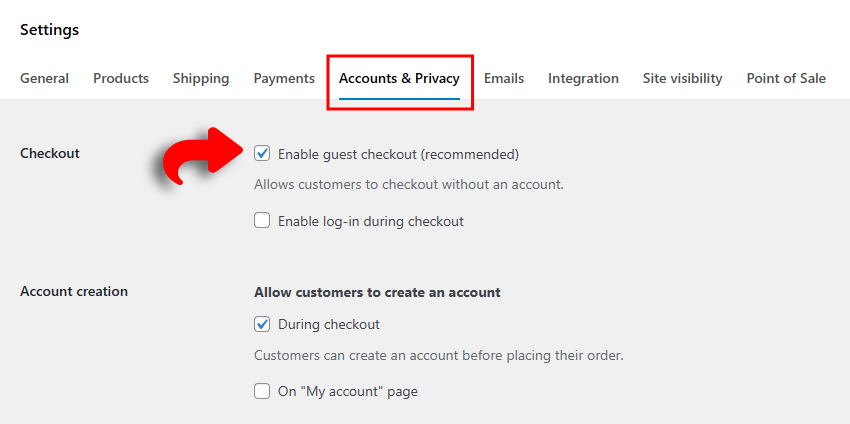
- Inside the Accounts & Privacy tab, find the section titled Checkout.
- Check the box that says: Allow customers to checkout without an account.
This setting enables guest checkout on your WooCommerce store.
Tip: You can also enable the next option —
“Allow customers to log into an existing account during checkout” —
if you want returning customers to sign in easily.
Step 3: Save Your Settings
Scroll to the bottom of the page and click Save changes.
Congratulations! 🎉
Guest checkout is now active on your WooCommerce store.
Want to Automatically Register Guest Checkouts in WooCommerce? Here’s How!
Enabling guest checkout is fantastic for quick sales — but what if you could give your customers a smoother experience and help your business at the same time?
Imagine this:
A shopper checks out as a guest, receives their order confirmation, and — without lifting a finger — an account is automatically created for them. Next time they visit your store, they can log in, track past orders, and reorder in seconds.
That’s a win–win.
The customer feels cared for, and you gain a returning buyer.
Unfortunately, WooCommerce doesn’t do this by default, but the good news is — it’s easy to set up with either a free plugin or a small code snippet.
Let’s look at both options.
Option 1: Use a Custom Code Snippet (For Developers or Advanced Users)
If you prefer a code-based approach or want more control, you can add a custom PHP snippet to your theme’s functions.php file or via a plugin like Code Snippets.
Nore: Always back up your website before adding custom code.
Here’s the snippet (by Rodolfo Melogli from Business Bloomer — tested with WooCommerce 8):
/**
 * @snippet       Register Guest Users @ WooCommerce Checkout
 * @how-to        businessbloomer.com/woocommerce-customization
 * @author        Rodolfo Melogli, Business Bloomer
 * @testedwith    WooCommerce 8
 */

add_action( 'woocommerce_thankyou', 'bbloomer_register_guests', 9999 );

function bbloomer_register_guests( $order_id ) {
   $order = wc_get_order( $order_id );
   $email = $order->get_billing_email();
   if ( ! email_exists( $email ) && ! username_exists( $email ) ) {
      $customer_id = wc_create_new_customer( $email, '', '', array(
         'first_name' => $order->get_billing_first_name(),
         'last_name'  => $order->get_billing_last_name(),
      ));
      if ( is_wp_error( $customer_id ) ) {
         throw new Exception( $customer_id->get_error_message() );
      }
      wc_update_new_customer_past_orders( $customer_id );
      wc_set_customer_auth_cookie( $customer_id );
   } else {
      $user = get_user_by( 'email', $email );
      wc_update_new_customer_past_orders( $user->ID );
   }
}
What This Code Does:
- Checks if the guest’s email already belongs to a registered user.
- If not, it creates a new WooCommerce account automatically.
- Links their current order to the new account.
- Logs them in immediately after checkout.
- Sends the “New Account” welcome email with login details.
Bonus Tip: You can tweak this code to redirect users to their “My Account” page or display a custom thank-you message after registration.
Why This Extra Step Matters
Giving your customers a seamless post-purchase experience helps them feel valued — and that emotional connection can turn a one-time buyer into a repeat customer.
Plus, having all buyers registered means you can:
- Track their lifetime value
- Offer loyalty discounts
- Send personalized recommendations
- Recover abandoned carts more effectively
Small tweaks like this can make a big difference in your WooCommerce growth journey.
Option 2: Use a Free Plugin (Perfect for Beginners)
If you’d rather skip coding, the simplest method is to use a plugin called Guest Checkout Account Creator.
This lightweight, free plugin does exactly what it says — it automatically registers an account for any customer who checks out as a guest.
How It Works:
- Go to Plugins → Add New in your WordPress dashboard.
- Search for Guest Checkout Account Creator.
- Click Install Now → Activate.
- That’s it! No extra setup required.
Once activated:
- A new user account is created automatically when a guest completes checkout.
- WooCommerce sends a welcome email with login details.
- The next time they shop, they can log in and enjoy a faster checkout.
Pro Tip: This small automation helps build long-term customer loyalty without making checkout complicated.
Final Verdict
Enabling guest checkout in WooCommerce is one of the smartest moves you can make to improve your store’s conversion rate — especially if you’re targeting first-time buyers. By removing unnecessary barriers like mandatory registration, you give your customers a smoother, faster way to complete their purchases.
And if you add the automatic account creation for guest checkouts, you get the best of both worlds — a frictionless checkout experience for your customers and valuable user data for your store.
Whether you’re a beginner setting up your first WooCommerce store or a growing brand looking to optimize conversions, enabling guest checkout is a must-have feature that enhances user experience, builds trust, and encourages repeat purchases.
In short: Less friction. More sales. Happier customers.